Door Installation: Steps, Tools and What Your Carpenter Should Check

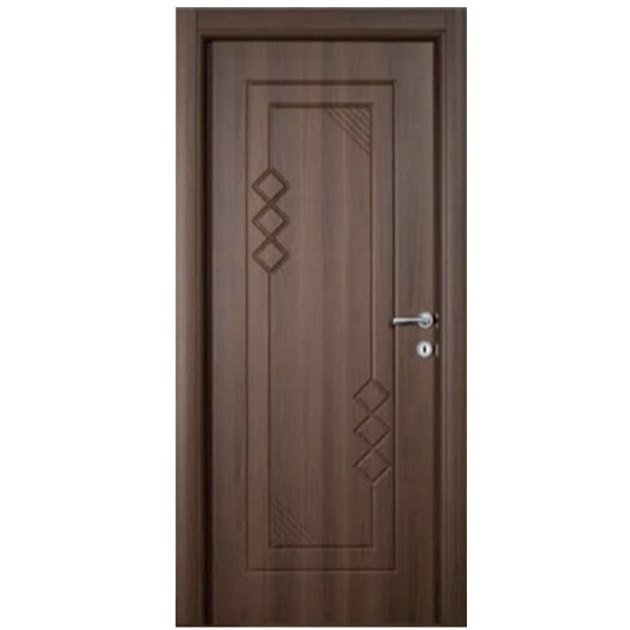
A good door can still perform badly if it is fitted badly. Most complaints about sticking, rattling or uneven gaps come from the installation, not from the door itself. This guide explains the usual steps, the tools involved and the checks worth asking your carpenter about before he leaves.
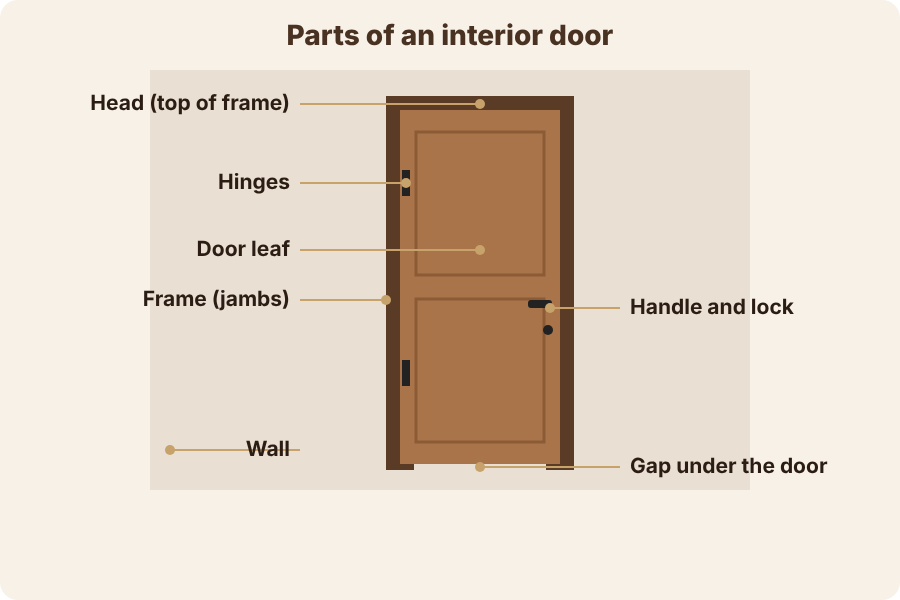
Before installation starts
Preparation saves more time than any trick during fitting. Ask the carpenter to confirm these points first:
- The opening is square and plumb. Walls in many buildings are slightly out of line, and a frame forced into a twisted opening will never close properly.
- The wall thickness matches the frame. The frame should cover the plaster on both sides, or be paired with a suitable trim, so the edges look finished.
- The final floor level is known. If tiles or parquet are not laid yet, the bottom clearance cannot be set correctly. Ideally the floor is finished first, or its thickness is allowed for.
- The door has been inspected on delivery. Check the leaf for scratches, warping and the right size before anything is fixed to the wall.
Typical installation steps
- Position the frame. Place it in the opening and wedge it temporarily so it sits centered.
- Plumb and level. Use a spirit level on both sides and the top, adjusting the wedges until the frame is vertical and the head is level.
- Fix the frame. Secure it to the wall with screws and plugs or with foam and fixings, depending on the frame type and wall material. Check the frame again after fixing, because tightening can pull it out of line.
- Mount the hinges. Fix them to the leaf and frame, keeping the screws straight and flush.
- Hang the leaf. Check the gaps around it. They should usually look even, in the range of a few millimeters on the sides and top, with a larger gap at the bottom for the floor.
- Fit the lock and handle. Mark the height carefully, drill cleanly and align the strike plate with the latch.
- Finish the edges. Add trim or sealant where needed and clean away dust and foam residue.
Tools you will usually see
- Spirit level and measuring tape
- Drill and drill bits, screwdrivers
- Wooden wedges or shims
- Hand saw or circular saw, chisel and mallet for hinge recesses
- Square and pencil for marking
- Plugs, screws and, where suitable, installation foam
What to check after fitting
Do not accept the work until you have tested the door yourself. Open it fully and let go at a half-open position: a door that swings by itself points to a frame that is not plumb. Close it slowly and look at the gap on all sides. Listen for rubbing, and check that the latch catches without slamming or forcing. Run your hand along the frame to feel for gaps in the finish, and make sure the hinge screws are tight and not protruding.
Also look at the surroundings. The floor should not scrape the leaf, and the wall should not show cracks around the frame. If the door is in a bathroom or other humid place, ask that the bottom edge is kept off the floor and that any cut edges are sealed properly.
Common mistakes to avoid
- Installing before the floor level is final.
- Cutting the leaf to fit a bad opening instead of correcting the opening.
- Over-tightening screws, which can distort a frame.
- Using too few hinges, or hinges that are too small for the leaf weight.
How to choose what suits your home
- Measure the opening before ordering and share the real dimensions, not only the standard ones, since typical leaves are around 80-90 cm wide and 200-210 cm high but your walls may differ.
- Humid rooms: choose a finish suited to moisture, such as PVC or HPL, and ask for careful sealing of edges.
- Heavy leaves: make sure the frame and hinges are suitable for the weight.
- Budget: spend on the carpenter's care as much as on the door, since fitting quality decides how it feels for years.
- Timing: plan installation after plastering and flooring but before the final painting touches.
When you are ready to pick the doors, browse the Dali shop and choose the design and finish that fit your project.